Linking an indexed .rcp to walls, floors and systems modeled over the cloud
Last updated:
Key takeaways:
- Convert scans to .rcp in ReCap, then link into Revit.
- Model elements over the cloud for accurate as-builts.
- Lock the cloud and set shared coordinates for reliable placement.
A practical guide to bringing a laser-scan point cloud into Revit and modeling accurate existing conditions.
A point cloud is only useful once it is inside the software your design team actually works in — and for most architecture and MEP teams, that means Revit. The good news is that Revit has native point-cloud support, so a registered scan can serve as a dimensionally accurate backdrop you model against, trace over, and verify against at any time. The workflow is straightforward once you understand the two file formats involved and how coordinates carry through.
This guide walks through getting a scan into Revit, keeping it aligned, and turning it into a clean as-built model at the right level of detail — without importing millions of stray points you do not need.
Linking the cloud
Revit does not read raw scanner files directly. Instead, the point cloud is first indexed in Autodesk ReCap into one of two formats: an .rcp project file (which references one or more .rcs scan files) or a single .rcs. Once you have that, linking it in is simple:
- Go to Insert → Point Cloud and browse to the .rcp or .rcs file.
- Choose a positioning option. Auto – Origin to Origin places the cloud using its internal coordinates; Auto – By Shared Coordinates uses a shared coordinate system if one is set up.
- Confirm the cloud appears in plan and section, then lock it so it cannot be nudged accidentally.
Because the point cloud is linked rather than embedded, the Revit file stays light and the cloud can be reloaded or updated if the scan is re-registered. If the cloud does not appear, check that your view’s detail level and the visibility settings for point clouds are turned on, and that your view range or section box actually intersects the data.
Import the registered RCP into Revit as a linked reference, positioned to your project origin. Then model walls, floors, and MEP directly against it.

Modeling to LOD
With the cloud linked and locked, modeling becomes a matter of tracing reality. Walls, floors, columns, ducts, and pipes are placed so their faces sit on the scanned surfaces. Working in section and using thin slices of the cloud (a narrow section box) makes it far easier to snap elements to the true face of a wall rather than an average.
How far you take this depends on the agreed Level of Development. For a renovation, LOD 300 — accurate, dimensioned geometry a designer can build against — is the usual target. You model the elements that matter for the project and resist the temptation to chase every bracket and conduit unless the scope calls for it. Over-modeling a point cloud is one of the fastest ways to blow a budget. Decide the LOD up front, ideally in the project’s BIM Execution Plan, and hold to it.
Model to the agreed Level of Development. See the full scan-to-BIM workflow.

Keeping the cloud aligned
Alignment problems are the most common frustration when working with point clouds in Revit, and nearly all of them trace back to coordinates. If the scan was georeferenced or tied to a project base point during registration, use By Shared Coordinates so the cloud lands exactly where the model expects it. If it was registered only to an internal origin, Origin to Origin is the safe choice, and you can then move the model — not the cloud — into position. Pin the point cloud after placement so a stray drag does not throw the whole model out of alignment.

Managing performance
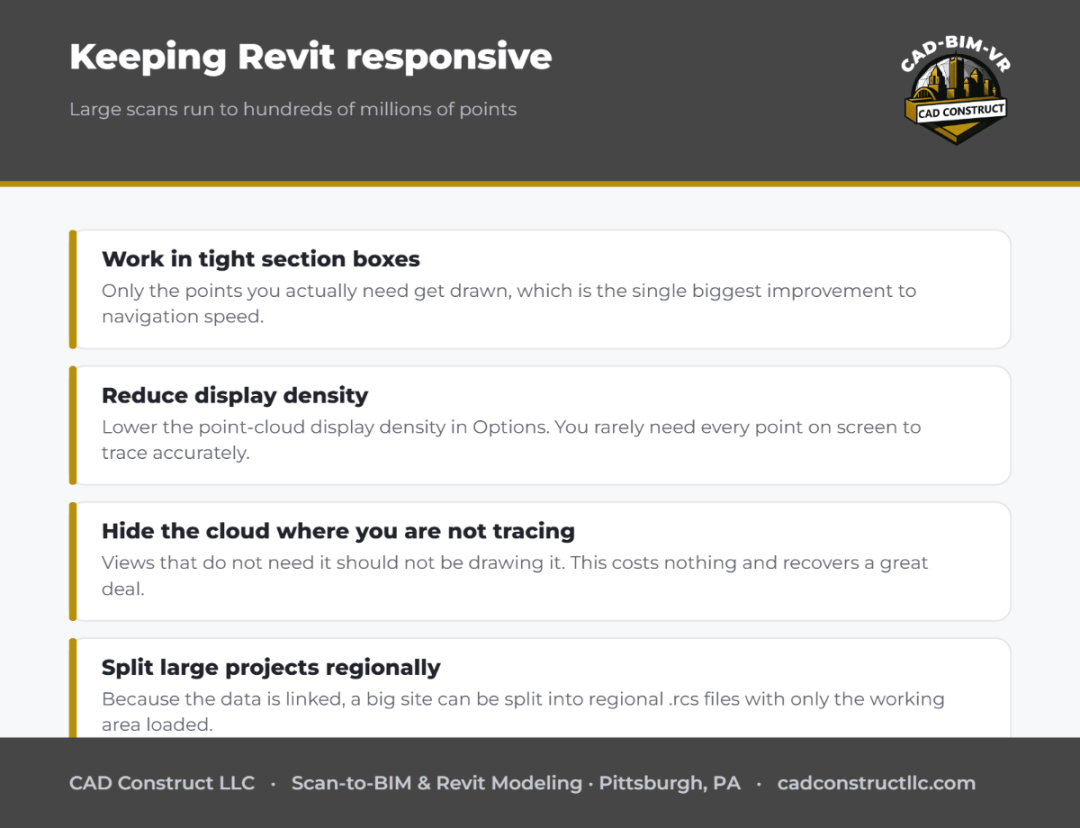
Large scans can contain hundreds of millions of points, which can make navigation sluggish. A few habits keep Revit responsive: work with tight section boxes so only the points you need are drawn, reduce the point-cloud display density in the Options, and hide the cloud in views where you are not actively tracing. Because the data is linked, you can also split a large project into regional .rcs files and load only the area you are working in.
Verifying your model against the scan
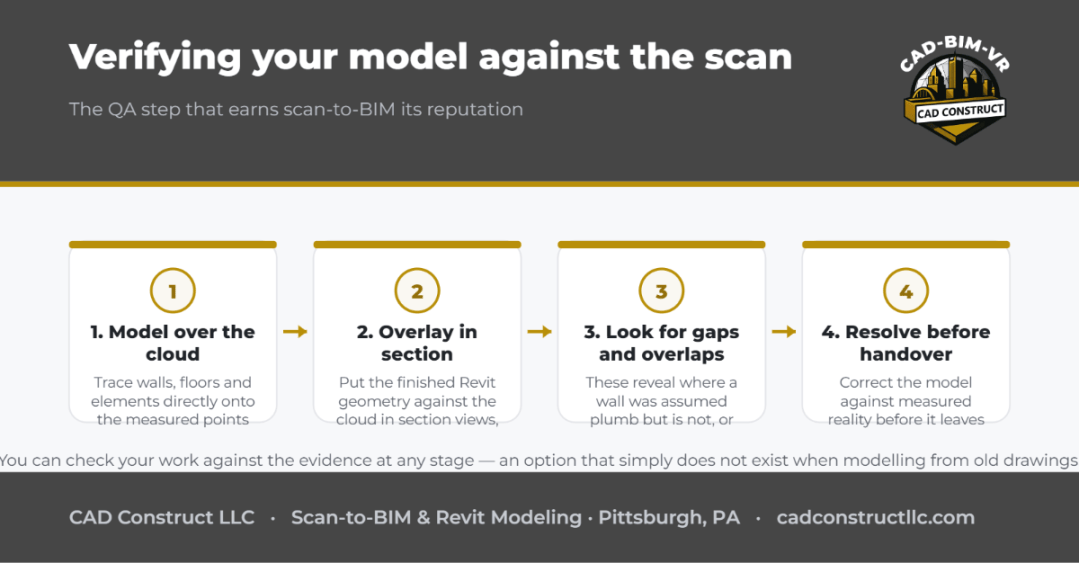
One of the biggest advantages of modeling from a scan is that you can check your work at any time. Overlay the finished Revit geometry on the cloud in section and look for gaps or overlaps — they reveal where a wall was assumed plumb but is not, or where a floor slopes. This visual QA step is how scan-to-BIM models earn their reputation for accuracy, and it is worth doing before the model leaves your hands.
Common mistakes to avoid
- Skipping ReCap indexing. Revit needs .rcp/.rcs — trying to shortcut the indexing step causes most import failures.
- Not locking the cloud. An unpinned cloud will eventually get moved, and re-aligning is tedious.
- Modeling in plan only. Sections and elevations are where you catch out-of-plumb and sloping conditions.
- Chasing unnecessary detail. Model to the agreed LOD, not to every point.
Preparing the scan before you link
The cleaner the point cloud, the smoother the Revit work. Before indexing, it pays to remove obvious noise — people who walked through the scan, reflections off glass and mirrors, and stray points floating in open space. Registration should already be complete, meaning every individual scan position has been aligned into one unified cloud with a known accuracy. If you are receiving the data from a survey provider, ask for it pre-registered and cleaned, delivered as an .rcp with a documented registration accuracy. Starting from clean, well-registered data removes most of the headaches people otherwise blame on Revit.

Using the cloud as more than a tracing guide
Once linked, a point cloud is useful well beyond the initial modeling pass. Because it holds true dimensions, you can measure directly off it to settle field questions without another site visit. You can generate accurate sections and elevations of existing conditions, confirm floor-to-floor heights, and check whether new equipment will fit in a congested mechanical room. On renovation projects this is where the investment in scanning pays off repeatedly — the same dataset answers questions across design, coordination, and construction.

Coordinating with other disciplines
When several teams model from the same scan, agree on the coordinate approach before anyone starts. If the architect links Origin to Origin and the MEP engineer links By Shared Coordinates, the two models will not line up when federated. Documenting the point-cloud file name, its format, and the positioning method in the BIM Execution Plan keeps everyone consistent and prevents the alignment surprises that surface at the first coordination meeting.

When to bring in a professional
Linking a clean, well-registered cloud is well within reach of most Revit users. Where teams often want help is upstream — capturing the site accurately and delivering a registered, cleaned .rcp — and on complex existing-conditions models where getting the geometry right the first time saves weeks of rework. If your project hinges on trustworthy as-builts, having the scan and the initial model produced by a provider who does this daily is usually money well spent.
Related reading
Bim dimensions 1d to 10d explained
BIM vs CAD: Know the Difference & Choose the Right Tool
·
FAQ
What format does Revit need? RCP (from Autodesk ReCap).
Can you model it for us? Yes — that is our scan-to-BIM service.
What file format does Revit need for a point cloud?
An indexed .rcp or .rcs file created in Autodesk ReCap. Revit cannot read raw scanner formats directly.
Can I edit the point cloud inside Revit?
No. Revit displays and snaps to the cloud but does not edit it. Cleaning, cropping, and registration happen in ReCap or the scanner’s software before linking.
Why is my point cloud invisible in a view?
Usually the view’s detail level, point-cloud visibility, or section box is the culprit. Confirm the cloud intersects the view range and that point clouds are enabled in Visibility/Graphics.
Do I have to model everything I can see in the scan?
No — model to the Level of Development agreed for the project. A point cloud captures far more than most projects need.
How accurate is a Revit model built from a point cloud?
As accurate as the scan and the modeler’s care allow — typically within a fraction of an inch when the cloud is well registered and elements are traced in section. The registration accuracy of the scan sets the ceiling.
Can I link more than one point cloud into a single Revit project?
Yes. You can link multiple .rcs or .rcp files, which is common on large sites captured in regions. Load only the areas you need to keep the model responsive.
Does linking a point cloud slow Revit down?
It can on very large scans, but tight section boxes, reduced display density, and hiding the cloud in views you are not tracing keep performance manageable. Splitting the data into regional files helps on big sites.
Should the point cloud stay in the model after modeling is done?
Many teams keep it linked so conditions can be re-checked later, then unload it for final deliverables to keep file size down. Because it is linked, it can always be reloaded when needed.
Get field-verified existing conditions in Pittsburgh
CAD Construct LLC delivers 3D laser scanning, as-built drawings, scan-to-BIM, and 360° virtual tours across Pittsburgh & Western PA. Request a free quote or call (800) 967-2627.
Related work: Browse real 3D and BIM models in our BIM portfolio.
Related reading: New to construction drawings? See our guide on how to read construction blueprints, or dive into blueprints vs. 3D models & BIM.


0 Comments