Last updated:
Carrying raw scans into a registered .rcp your Revit and AutoCAD can read
Key takeaways:
- Turns raw scans into registered .rcp and .rcs point clouds.
- Clean, measure, and region point clouds before modeling.
- Feeds directly into Revit, AutoCAD, and Civil 3D.
Autodesk ReCap turns raw laser scans into registered point clouds you can use in Revit and AutoCAD.
Autodesk ReCap — short for “reality capture” — is the software that turns raw laser-scan and photogrammetry data into a clean, usable point cloud that design tools like Revit, AutoCAD, and Navisworks can read. If a 3D scan is the raw footage, ReCap is the editing suite: it registers individual scans into one coherent dataset, strips out noise, and packages everything into the .rcp and .rcs files the rest of the Autodesk ecosystem depends on.
For anyone doing scan-to-BIM work, ReCap sits right in the middle of the pipeline. Understanding what it does — and what it does not — makes the difference between a smooth project and one that stalls on import errors and misaligned data.
ReCap in the workflow
ReCap handles several distinct jobs that together prepare scan data for design software:
- Importing raw data from a wide range of scanner and drone formats.
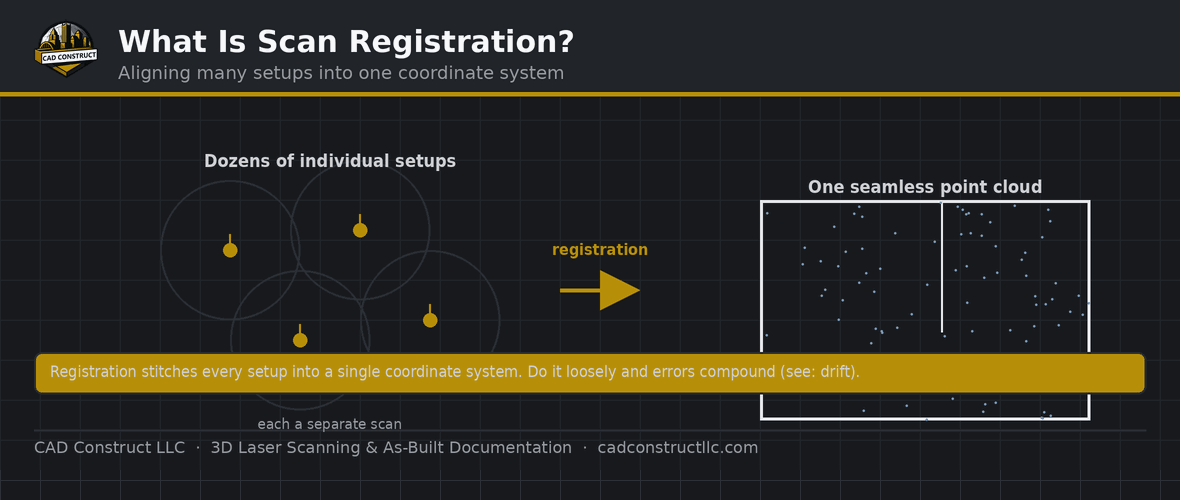
- Registration — aligning the many individual scan positions into a single, unified point cloud with a known accuracy.
- Cleaning — removing noise such as passing people, reflections, and stray floating points.
- Indexing — writing the optimized .rcs and .rcp files that Revit, AutoCAD, Civil 3D, and Navisworks link to.
- Basic analysis — measuring distances, adding notes, and taking clean sections directly in the cloud.
The paid version, ReCap Pro, adds the registration, editing, and meshing tools; the free ReCap viewer mainly lets you open and navigate finished clouds. Most professional scan-to-BIM work is done in ReCap Pro because registration and cleaning are where the value is created.
ReCap accepts dozens of formats, including the vendor-neutral E57, along with PTS, PTX, LAS/LAZ from lidar and drones, and native formats from scanners like Leica, Faro, and Trimble. That flexibility is why it has become the common hub where data from different hardware ends up.
ReCap processes and registers scan data into RCP/RCS point clouds — the native reference format for Revit scan-to-BIM and AutoCAD.
Where it fits
Picture the typical scan-to-BIM pipeline as four stages: capture, register, model, deliver. ReCap owns the middle. The field crew captures the site with a laser scanner or drone; that raw data is brought into ReCap and registered into one cloud; the cleaned, indexed .rcp is then linked into Revit or AutoCAD, where the actual as-built model is built; finally the model and any supporting data are delivered to the client.
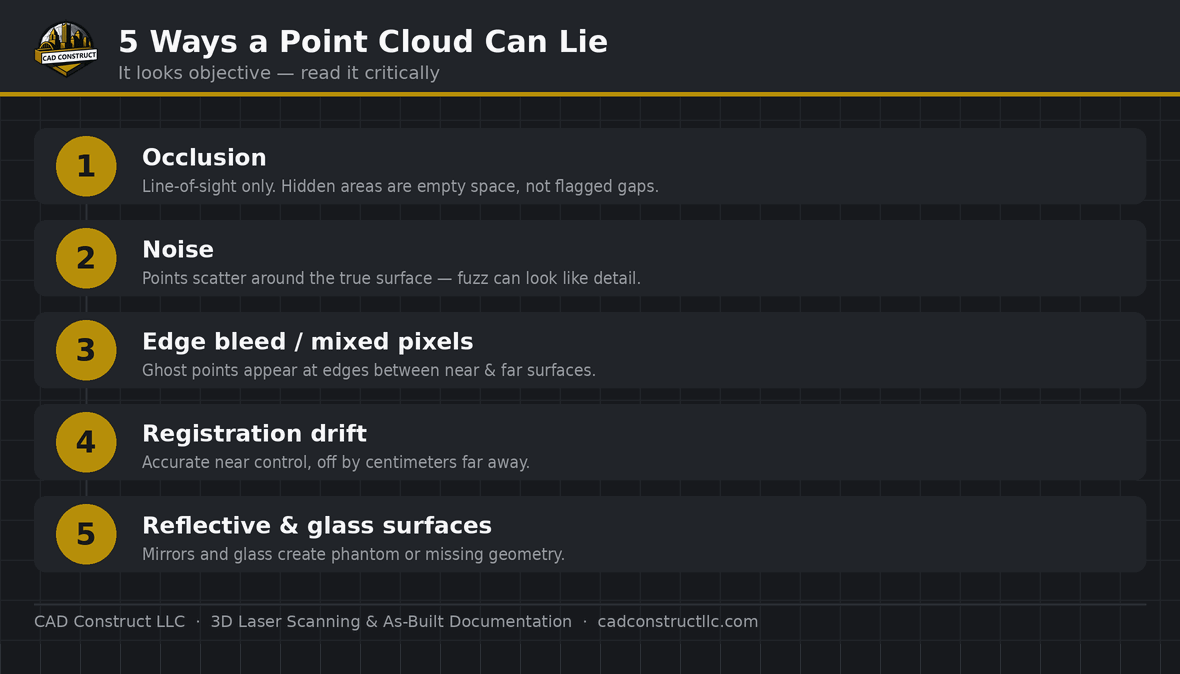
Because ReCap produces the file everything downstream depends on, the quality of work done here sets a ceiling on everything that follows. A poorly registered cloud with a half-inch of drift between scan positions will produce a model that inherits that error no matter how careful the modeler is. Getting ReCap right is not a formality — it is where accuracy is won or lost.
ReCap sits between field capture and modeling. See the full scan-to-BIM workflow.
Registration: the heart of ReCap
Registration is the process of stitching every individual scan position into one aligned dataset. ReCap offers cloud-to-cloud registration, which matches overlapping geometry between scans, and survey- or target-based registration, which uses shared reference points. A registration report shows how tightly the scans agree — typically expressed in millimeters or fractions of an inch — and that number is effectively the accuracy budget for the whole project. Reputable providers document it and share it with the design team, because a model is only as trustworthy as the registration beneath it.

Cleaning and editing the point cloud
Raw scans always contain data you do not want: people and vehicles that moved through the scene, ghosting from glass and polished surfaces, and stray points in open air. ReCap Pro’s selection and clipping tools let you remove this clutter so the modeler is tracing real surfaces rather than noise. It can also crop the cloud to a region of interest and limit it to specific scan areas, which keeps downstream files lean and Revit responsive.
Exporting to Revit, AutoCAD, and Navisworks
Once a cloud is registered and cleaned, ReCap saves it as an .rcp project (which references one or more .rcs scan files). That single file type is what you link into Revit via Insert → Point Cloud, attach in AutoCAD or Civil 3D, or append into Navisworks for coordination. Because the link is external, the design file stays small and the cloud can be updated centrally if the scan is re-processed. ReCap Pro can also generate a mesh (OBJ, FBX, or similar) when a surface model is more useful than points — for example in visualization or for organic, hard-to-model geometry.

ReCap Pro vs. the free viewer
Autodesk has offered ReCap in different tiers over the years, but the practical distinction is simple: the free tool is essentially a viewer for finished clouds, while ReCap Pro contains the registration, cleaning, measurement, and meshing tools that actually prepare data. If your work stops at opening and navigating a cloud someone else prepared, the viewer may be enough. If you are producing usable data from raw scans, you need Pro.
Common ReCap mistakes to avoid
- Trusting a registration you have not checked. Always review the accuracy report before modeling on top of the data.
- Skipping the cleaning pass. Noise and ghosting make tracing slower and less reliable.
- Indexing everything at full density. Crop and limit the cloud to what the project actually needs.
- Ignoring coordinates. Decide early whether the cloud carries real-world or local coordinates so downstream models align.
Where ReCap came from
ReCap grew out of Autodesk’s push into reality capture as laser scanning and drone photogrammetry became mainstream in AEC. The idea was to give the Autodesk ecosystem a single, consistent way to bring measured reality into design software rather than relying on a patchwork of scanner-specific tools. Over successive releases it absorbed photo-based reconstruction alongside laser-scan processing and tightened its integration with Revit, AutoCAD, Civil 3D, and Navisworks. The result is a hub that treats data from different hardware the same way once it is inside.

ReCap and photogrammetry
Although most people associate ReCap with laser scans, it also handles photogrammetry — reconstructing 3D geometry from a set of overlapping photographs, often captured by drone. For sites where a scanner is impractical, such as roofs, facades, or large outdoor areas, this offers a second route to a measurable model. The processed result lands in the same point-cloud and mesh formats, so it flows into the same downstream tools. Laser scanning generally wins on precision indoors and in tight spaces, while drone photogrammetry shines over large or hard-to-reach exteriors — and ReCap lets a project use both.
Getting the most out of ReCap on a project
A few habits keep ReCap work efficient. Plan scan positions in the field so overlaps are generous — registration is only as good as the shared geometry between scans. Register and check accuracy before leaving the site details, then clean thoroughly so the modeler inherits a tidy dataset. Decide the coordinate strategy up front, and index only the region the project needs. Teams that treat ReCap as a deliberate stage rather than a quick export step almost always spend less time fighting alignment and performance problems later.
Related reading
3D Laser Scanning vs. Photogrammetry vs. Drones: Which Is Right for Your Project?
What Is a Point Cloud? A Beginner’s Guide
Point Cloud File Formats Explained ·
FAQ
Is RCP a ReCap format? Yes — RCP/RCS are ReCap point cloud formats.
Do I need ReCap to view a cloud? It is one option; we can deliver formats for your software.
Is ReCap free?
There is a free ReCap viewer for opening and navigating clouds, but the registration, cleaning, and meshing tools live in ReCap Pro, which is a paid Autodesk product. Professional scan-to-BIM work uses Pro.
What file formats does ReCap produce?
Its native outputs are .rcp (a project referencing one or more .rcs scan files). These are what Revit, AutoCAD, Civil 3D, and Navisworks link to. ReCap Pro can also export meshes in formats like OBJ and FBX.
Do I need ReCap if I have Revit?
Yes, if you are starting from raw scans. Revit cannot read scanner formats directly — it needs the indexed .rcp/.rcs that ReCap creates. If someone hands you a finished .rcp, you can link it in Revit without touching ReCap yourself.
What is the difference between ReCap and a point cloud?
A point cloud is the data — millions of measured 3D points. ReCap is the software that registers, cleans, and packages that data so other programs can use it.
Can ReCap create a 3D model I can edit?
ReCap produces point clouds and meshes, not editable BIM geometry. To get walls, floors, and MEP elements you can edit, you model from the ReCap data in Revit or AutoCAD.
How big are ReCap files?
They vary widely with scan density and site size — from a few hundred megabytes to many gigabytes. Cropping and limiting density in ReCap keeps them manageable downstream.
Get field-verified existing conditions in Pittsburgh
CAD Construct LLC delivers 3D laser scanning, as-built drawings, scan-to-BIM, and 360° virtual tours across Pittsburgh & Western PA. Request a free quote or call (800) 967-2627.
Related resources


0 Comments