
Last updated:
Where heights, finishes and rooflines meet a straight-on view
Key takeaways:
- Elevations show vertical faces, not the layout from above.
- They communicate heights, materials, and exterior appearance.
- Each side — north, south, east, west — gets its own elevation.
If a floor plan shows a building from above, an elevation shows it from the side. Elevation drawings are flat, straight-on views of a building’s faces — the front, back, and sides — and they are where you see what a building will actually look like: its height, proportions, materials, and the arrangement of windows and doors. Learning to read elevations complements floor-plan reading and rounds out your understanding of a design. This guide explains how to read elevation drawings clearly.
Elevations answer the questions a floor plan cannot: how tall is it, what does it look like, and what is it made of.
What an elevation drawing is
An elevation is an orthographic view of a vertical face of a building, drawn as if you were standing directly in front of it with no perspective distortion. Because there is no perspective, every part of the face is shown at its true proportion and can be measured to scale. Exterior elevations show the outside faces of the building; interior elevations show the walls of individual rooms, such as a kitchen wall with its cabinets. Together, elevations reveal the vertical dimension of a design that plans and sections describe differently.
A typical set includes an elevation for each side of the building, usually labeled by direction (north, south, east, west) or by orientation (front, rear, left, right).

What elevations show
Elevation drawings communicate a rich set of information about a building’s appearance and vertical arrangement:
- Overall height and the heights of key elements like floors, windows, and rooflines.
- Materials and finishes, indicated by hatching, patterns, and notes — brick, siding, stucco, stone, and so on.
- Windows and doors, shown in their true size and position on the face, revealing the rhythm of openings.
- Roof form and slope, showing how the roof shapes the building’s profile.
- Grade line, the level of the ground, which anchors the building to its site.
- Vertical dimensions and level markers that establish heights above a reference point.
Reading these elements together lets you picture the finished exterior and understand how the building meets the ground and the sky.
How to read an elevation step by step
Start, as always, with the title block to confirm which elevation you are looking at and its scale. Identify the grade line — the ground level — as your baseline. Then read the overall height and the level markers that indicate floor and roof elevations relative to a datum. Next, study the openings: the windows and doors shown in true position and size. Read the material notes and hatching to understand the finishes. Finally, note the roof form and any features like chimneys, dormers, or parapets. Working from the ground up in this way builds a clear picture of the building’s face.
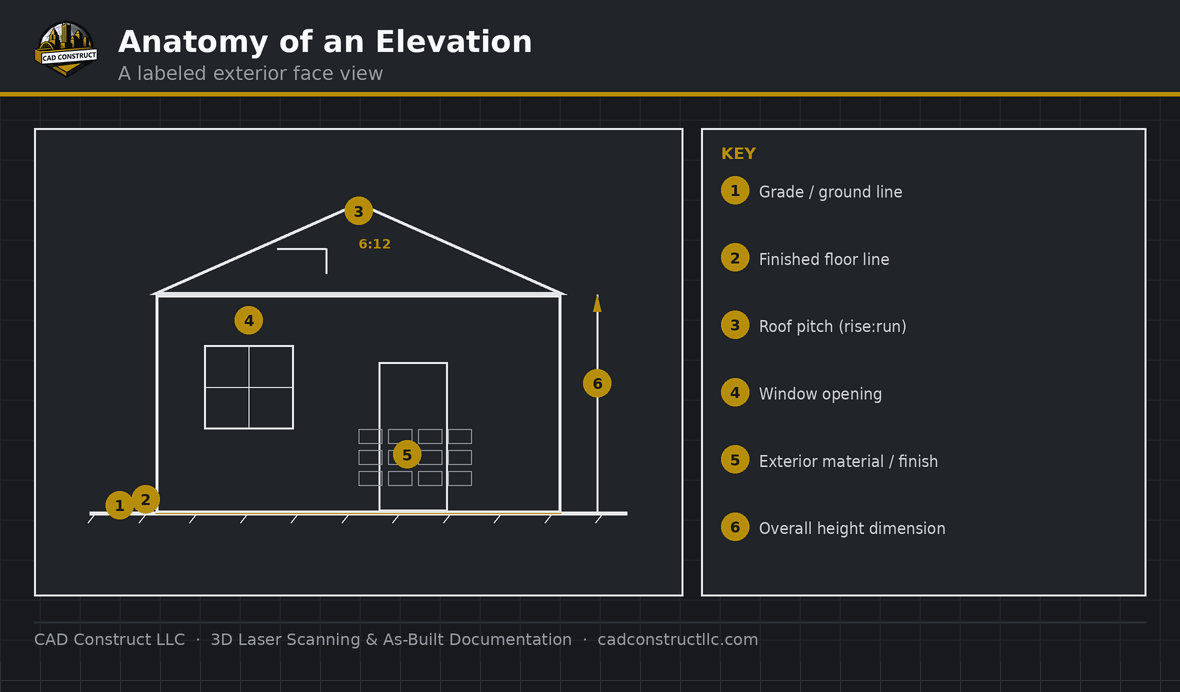
Understanding levels and datums
Elevations rely on a datum — a fixed reference point from which heights are measured. Level markers on the drawing indicate heights above this datum, such as the finished first floor, the second floor, and the top of the roof. These height references are how the drawing communicates exactly how tall each part of the building is and how the levels relate. Reading them lets you understand vertical dimensions precisely, just as plan dimensions communicate horizontal sizes.
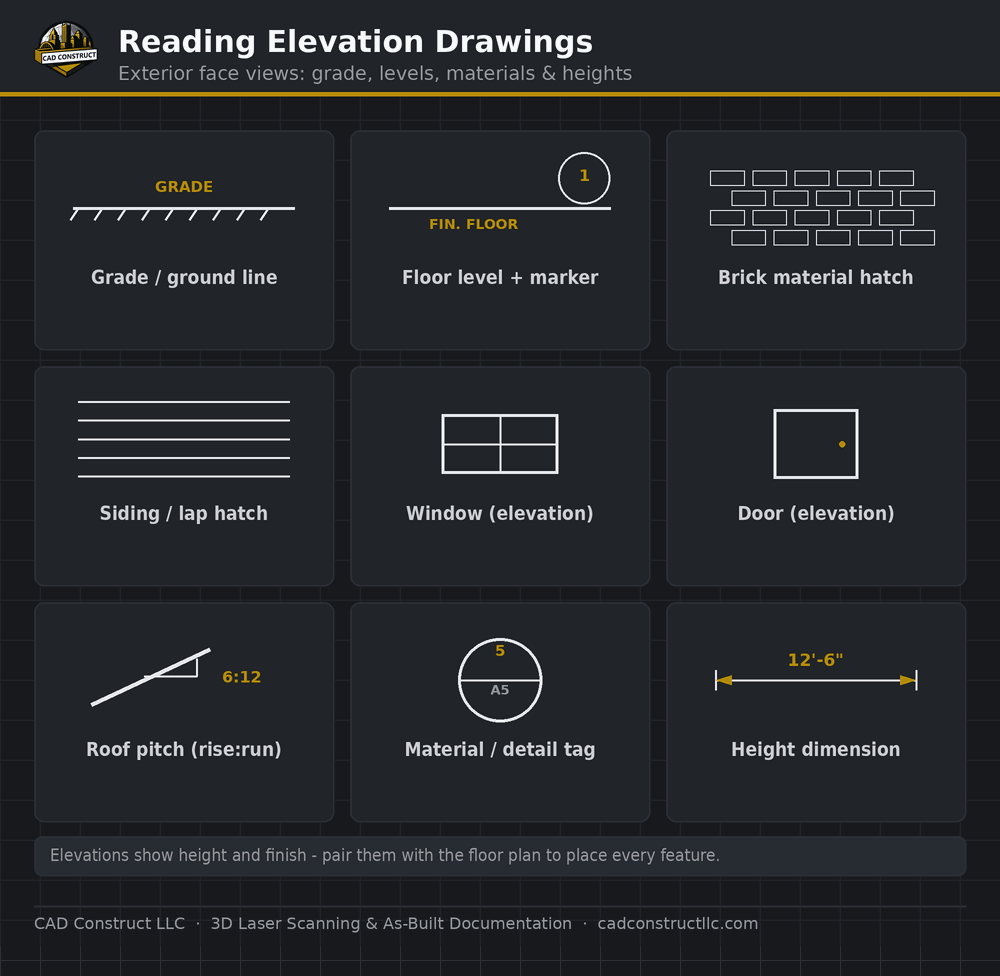
Materials and finishes on elevations
One of the main jobs of an elevation is to show what the building is clad in. Different materials are indicated by hatch patterns and by notes with leader lines pointing to specific areas — brick veneer here, fiber-cement siding there, stone at the base. Reading these callouts tells you the exterior palette and how materials change across the facade. On interior elevations, the same approach shows wall finishes, tile, cabinetry, and trim. Paying attention to material notes turns a line drawing into a clear description of how the building will actually look and feel.
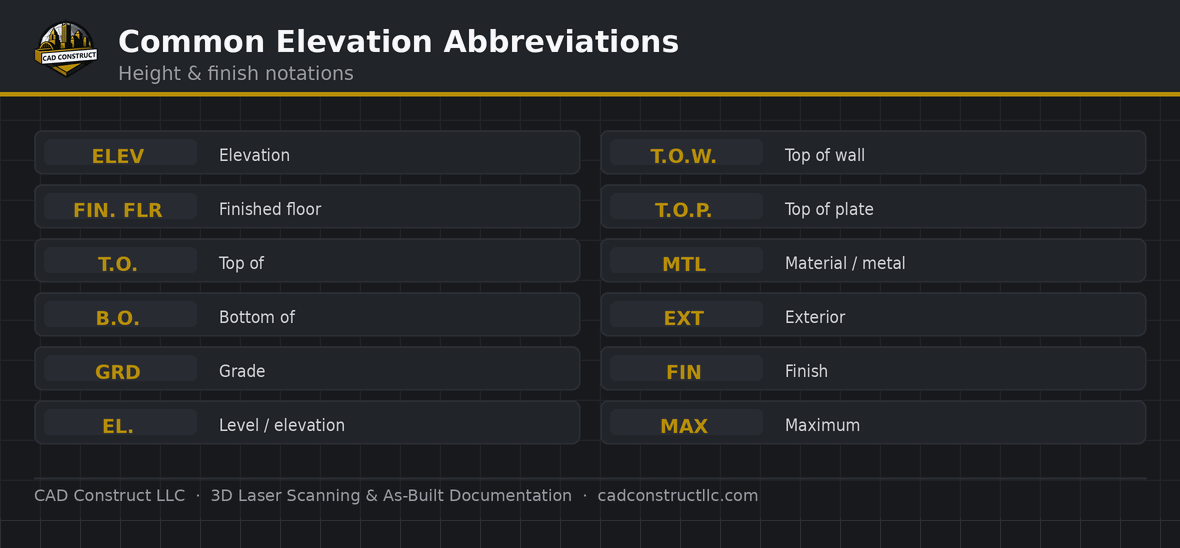
Interior elevations
Beyond the building’s exterior faces, sets often include interior elevations of specific walls — most commonly kitchens, bathrooms, and other rooms with built-in elements. An interior elevation shows a wall straight on, with cabinets, counters, fixtures, tile, and trim in true proportion and with heights called out. These drawings are essential for understanding how a room’s vertical elements are arranged and are usually referenced from the floor plan by an interior elevation symbol pointing at the wall shown.
How elevations connect to the rest of the set
Elevations do not stand alone. They correspond to the floor plans — an opening on the plan appears on the matching elevation — and they relate to the sections, which cut through the building to show how it is built behind the face. Reference markers tie these drawings together. Reading elevations alongside plans and sections gives you the complete three-dimensional understanding that no single drawing provides. When existing conditions are unknown, laser scanning can generate accurate elevations of an existing facade, which is invaluable for renovation and as-built documentation.
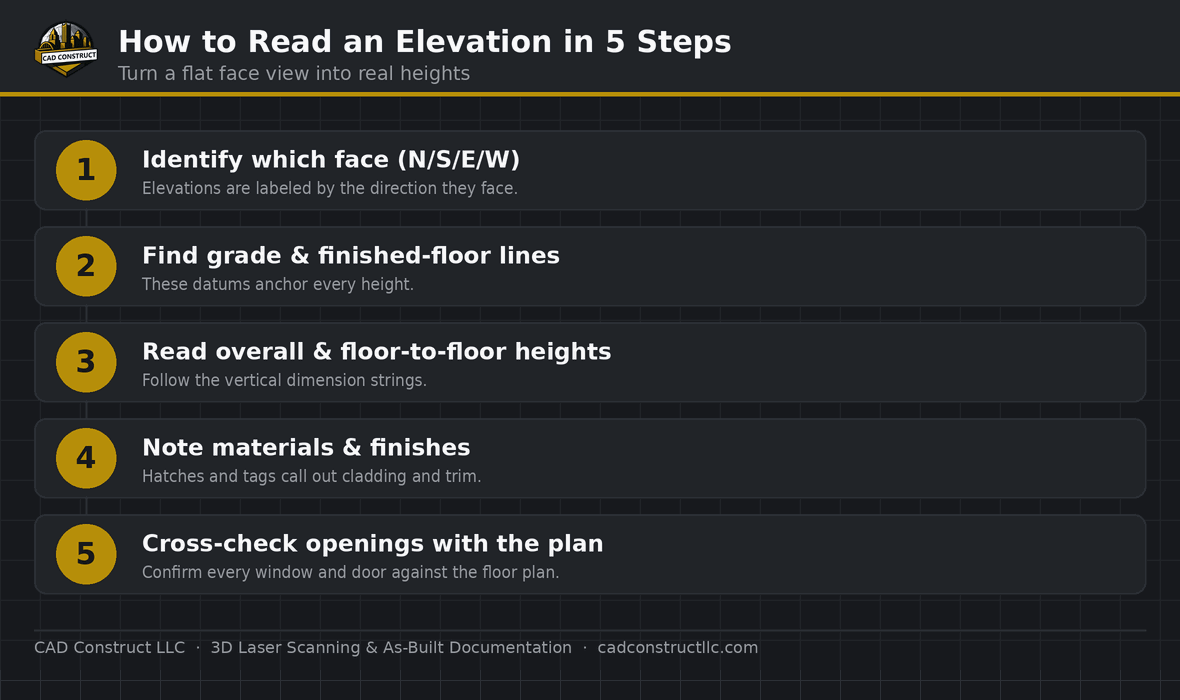
Related blueprint reading guides
- How to Read Construction Blueprints
- How to Read Building Section Drawings
- How to Read Floor Plans
- How to Read a Reflected Ceiling Plan
Related work: See real 2D drawings and CAD deliverables in our CAD portfolio.
Frequently asked questions
What is the difference between an elevation and a section?
An elevation is a straight-on view of a building’s outer or inner face, showing its appearance. A section is a view as if the building were sliced open, showing what is inside the walls, floors, and roof. Elevations show the surface; sections show the construction behind it.
Why are elevations labeled by direction?
Elevations are often named by the compass direction they face — north, south, east, west — so anyone can relate the drawing to the building’s orientation on the site. Some sets use front, rear, and side instead.
Can I measure heights from an elevation?
Yes. Because elevations are drawn to scale without perspective, you can read heights from the level markers and dimensions, or scale them with an architect’s ruler, just as you read distances on a plan.
Elevation drawings show a building from the side, revealing height, proportion, materials, and the arrangement of openings. Read them from the grade line up, use the level markers to understand heights, study the material notes, and connect them to the plans and sections — and you will see exactly what a building is meant to look like.
How are interior elevations referenced from the plan?
Interior elevations are called out on the floor plan with an interior elevation symbol — typically a marker with arrows pointing toward the walls being shown and a reference to where those elevations are drawn. Following that symbol tells you which wall each interior elevation represents, so you can connect the room’s plan to the vertical views of its walls.
Can elevations show more than one building face at a time?
No — each elevation shows a single face straight on, which is what keeps proportions true and measurable. To understand the whole building you read the set of elevations together, one for each side, and combine them mentally with the plans and sections to form a complete three-dimensional picture.
What is an elevation drawing?
A scaled, head-on view of one vertical face of a building or wall, showing height, openings, materials, and finishes.
How are elevations labeled?
Usually by the direction they face — North, South, East, West — or by a letter or number keyed to the floor plan.
What do elevations show that floor plans don’t?
Vertical information — heights of windows and doors, roof slopes, floor levels, siding, and trim.
What are interior elevations?
Straight-on views of interior walls, common for kitchens and bathrooms, showing cabinets, tile, and fixture heights.
How do I read heights on an elevation?
From noted floor-to-floor and finish elevations, often referenced to a datum such as finished first floor at 0 feet.
Related blueprint reading guides
- USIBD Level of Accuracy (LOA), explained
- How to Read Construction Blueprints — full guide
- How to Read Building Section Drawings
- How to Read Electrical Plans & Symbols
- How to Read Plumbing Blueprints
- How to Read HVAC & Mechanical Drawings
- Blueprints vs. 3D Models & BIM
Turning these drawings into a field-verified digital record? See our as-built documentation and 3D laser scanning in Pittsburgh across Pittsburgh & Western PA, or request a quote.


0 Comments